User Guide
Working with Activities
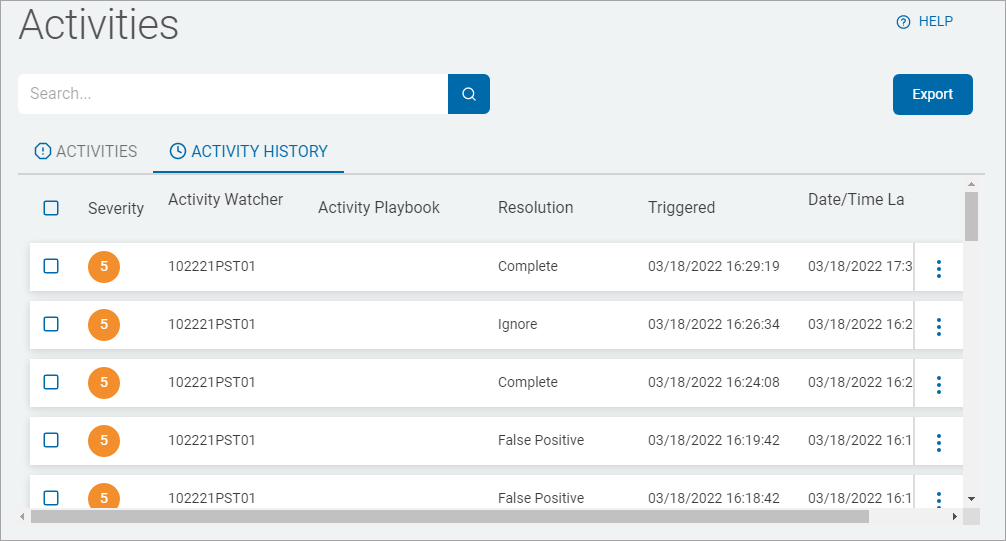
The Activities screen displays activities and activities histories sorted by column. It's important to remember:
-
Watcher monitors your activities
-
You can monitor all the activities that have been resolved
-
You can search for specific activities
-
You can take action on the activities
-
You can view details of each activity
-
You can export activities and activity history
Expand a section for more information:
1. From the left menu, click Sensitive Data Watcher.
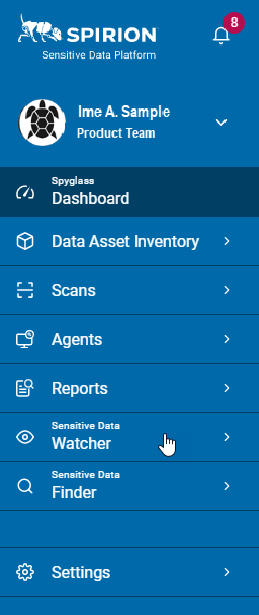
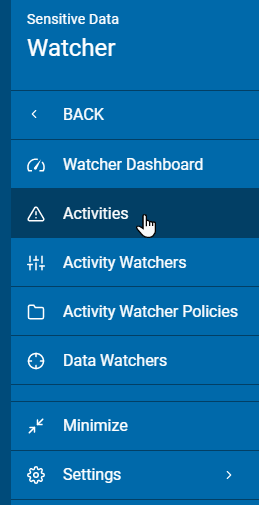
2. Click Activities.
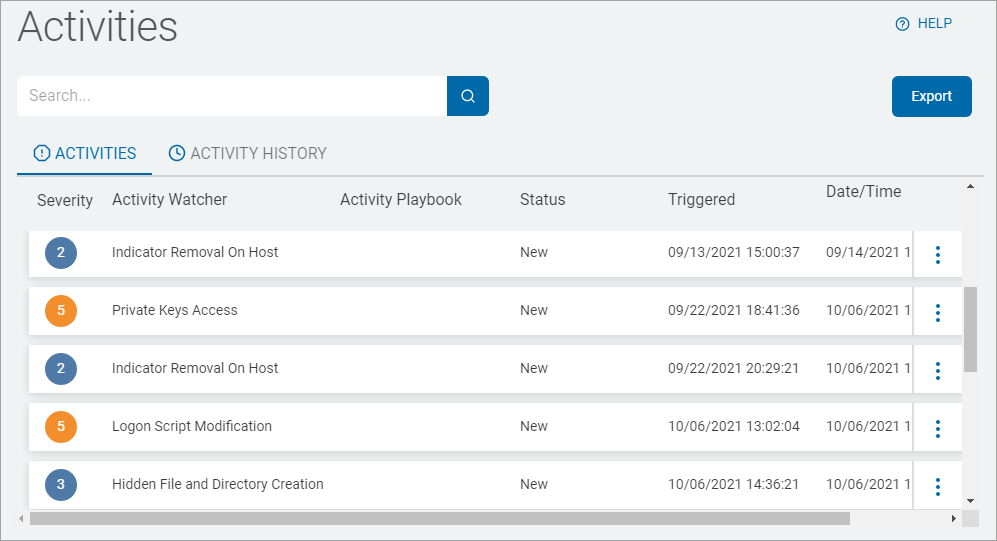
3. The following tabs displays on the Activities page:
4. Activities are displayed in a table sorted by:
- Severity
- Levels 1-10
- Severity Group
- Red: High
- Orange: Medium
- Blue: Low
- Activity Watcher
- Activity Playbook
- Status
- Triggered
- Date/Time Latest Event
- More options
5. Activity History is displayed in a table sorted by:
- Severity
- Levels 1-10
- Severity Group
- Red: High
- Orange: Medium
- Blue: Low
- Activity Watcher
- Activity Playbook
- Resolution
- Triggered
- Date/Time Latest Event
- More Options
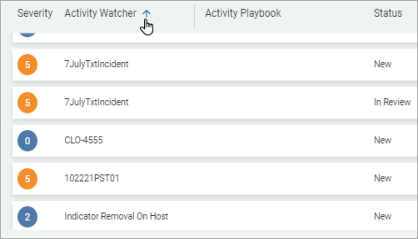
6. Click a column to sort ascending.
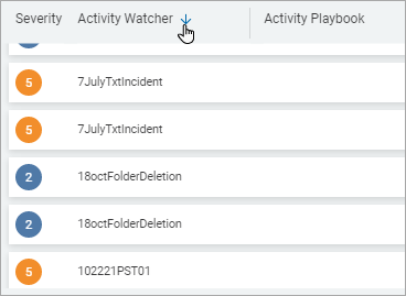
7. Click the column again to sort descending.
1. You can search for Activities by the data in any column.
2. Type the search in the box and the results are sorted and displayed in the table below.
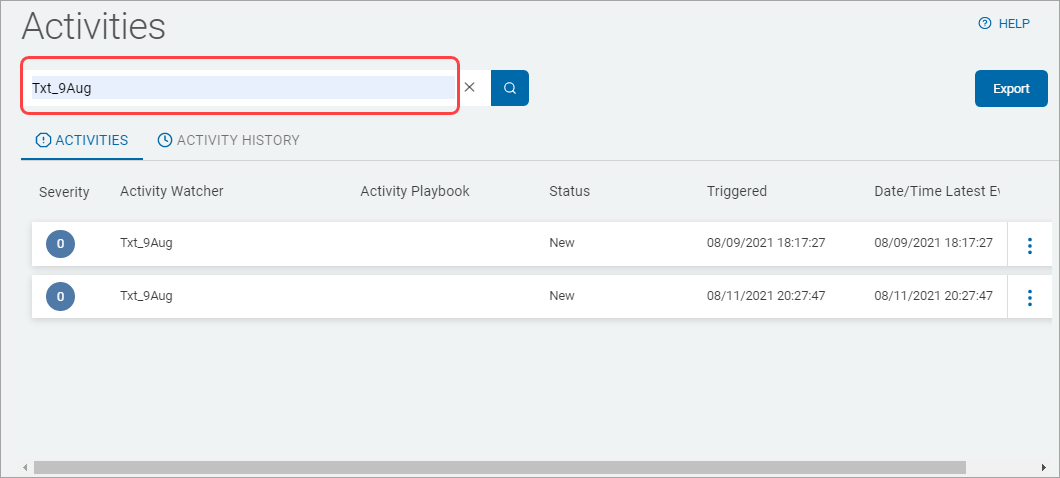
3. Click the x to clear the search term.
To export the Activities:
1. In the top right of the screen, click Export.
2. A .csv format file is downloaded to you local computer.

To view a specific Activity:
1. Locate the incident in the Activities/Activity History tab.
2. In the far right column, click the more options menu.
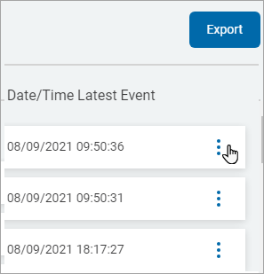
3. Select Details from the drop-down list.
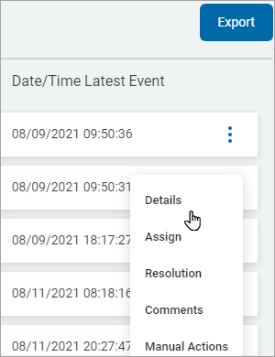
4. The Activity Details screen displays a list of Activity Events occurred.
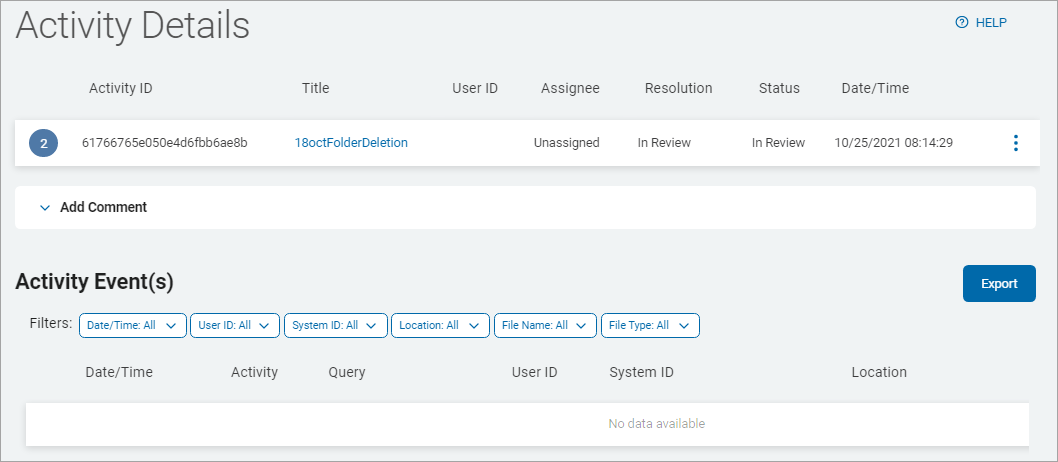
5. Click Export to export the Activity Events in a .csv file.
6. Go to the Filter section of the Activity Event (s). For the below selection criteria, select one or more items from the drop-down list.
-
Date/Time
-
User ID
-
System ID
-
Location
-
File Name
-
File Type

7. Click Apply to apply the filter.
8. Click Clear and then click Apply to remove the filter.
To assign an Activity for remediation:
1. Locate the Activity in the Activities tab.
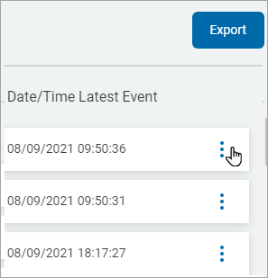
2. In the far right column, click the more options menu.
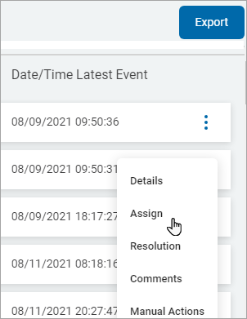
3. Select Assign from the drop-down list.
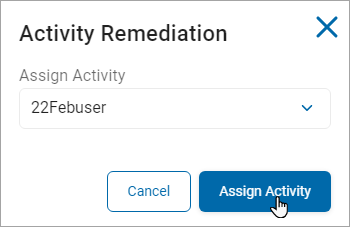
4. In the Activity Remediation pop-up window, do the following:
a. Click an option from the Assign Activity drop-down list.
b. Click Assign Activity to assign or Cancel to discard.
To assign a resolution to an Activity:
1. Locate the Activity in the Activities tab.
2. In the far right column, click the more options menu.
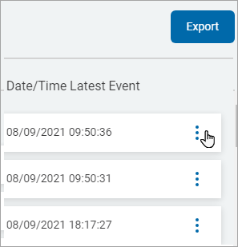
3. Click Resolution from the drop-down list.
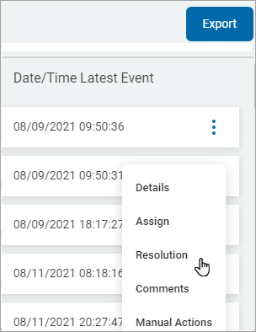
4. In the Incident Remediation Assign Resolution pop-up window, do the following:
a. Click an option from the Assign Resolution drop-down list:
-
Complete
-
False Positive
-
Ignore
-
In Review
-
Whitelist
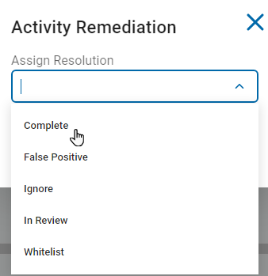
b. Click Assign Resolution to assign or Cancel to discard.
To add comments to an Activity:
1. Locate the Activity in the Activities tab.
2. In the far right column, click the more options menu.
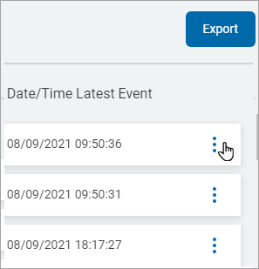
3. Click Comments from the drop-down list.
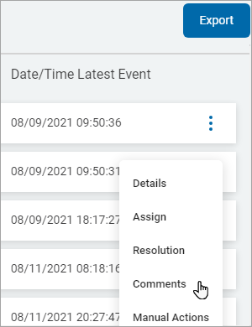
4. On theActivity Detail screen, type a comment in the Add Comment box.

5. Click the arrow icon (![]() ) or Enter on your keyboard to add the comment or click x to clear the comment.
) or Enter on your keyboard to add the comment or click x to clear the comment.
6. The comment appears below in the View Comments section.

To perform a manual action on an Activity:
1. Locate the Activity in the Activities tab.
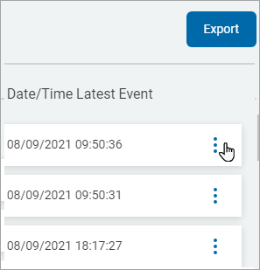
2. In the far right column, click the more options menu.
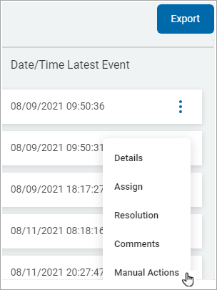
3. Select Manual Actions from the drop-down list.
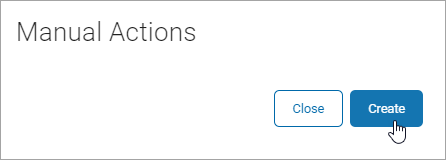
4. In the Manual Actions pop-up window, click Create to create an action or Close to discard.
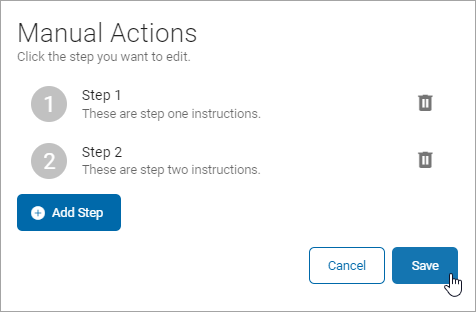
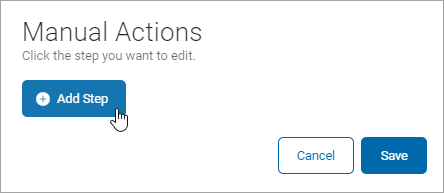
5. In the Manual Actions edit pop-up window, click Add Step.
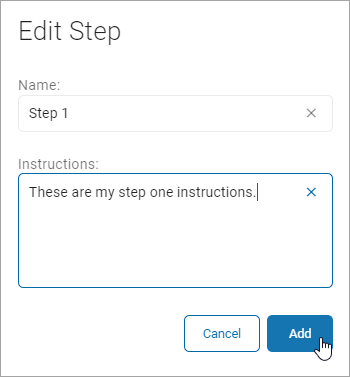
6. In the Edit Step pop-up window, do the following:
a. Type a step name in the Name box.
b. Type the instructions in the Instructions box.
c. Click Add to add the step or Cancel to discard.
7. Follow Steps 5-6 above to add as many steps as needed.
8. Click Save to save the instructions or Cancel to discard.
